
- Once the job has been approved for invoicing, from the Job Card select the Invoices tab
- Click New Job Invoice

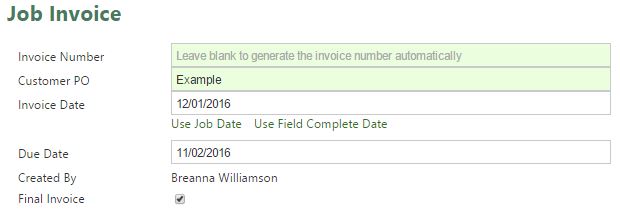
- The Invoice number will automatically be assigned if this has been set-up within Settings/Job Invoice, if not, enter in the invoice number
- The Customer Purchase Order is automatically transferred from the Purchase Order field on the Job Card
- Select Invoice Date and Due Date
- Leave Final Invoice ticked if this is not a progress payment
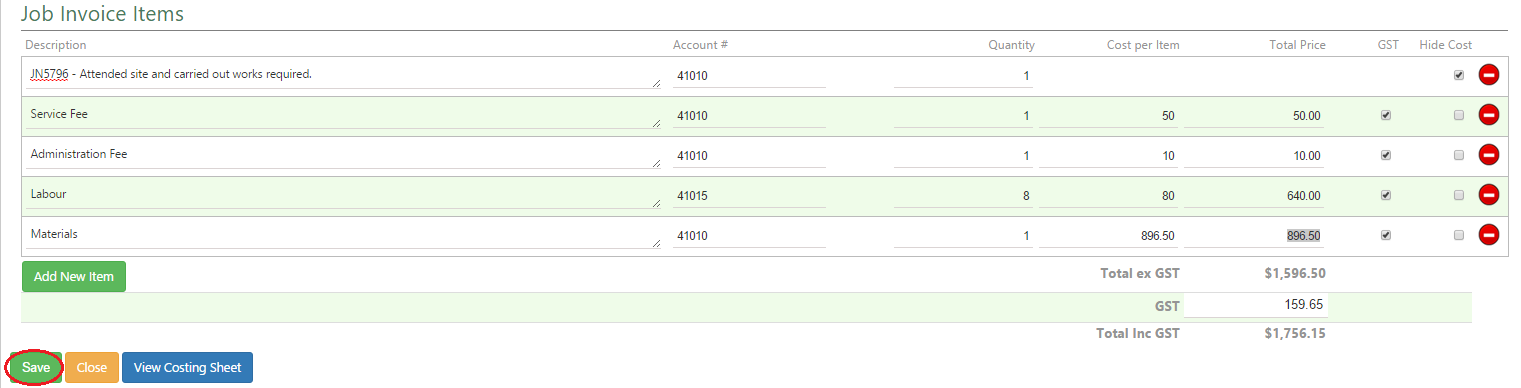
- Under Job Invoice Items, enter in the invoicing details
- By ticking Hide Cost, this allows you to enter in an Invoice Description, no dollar amounts will appear on the PDF invoice

- Click Add New Item to add in multiple invoicing line items
- Confirm invoicing details and invoice amount
- Click Save
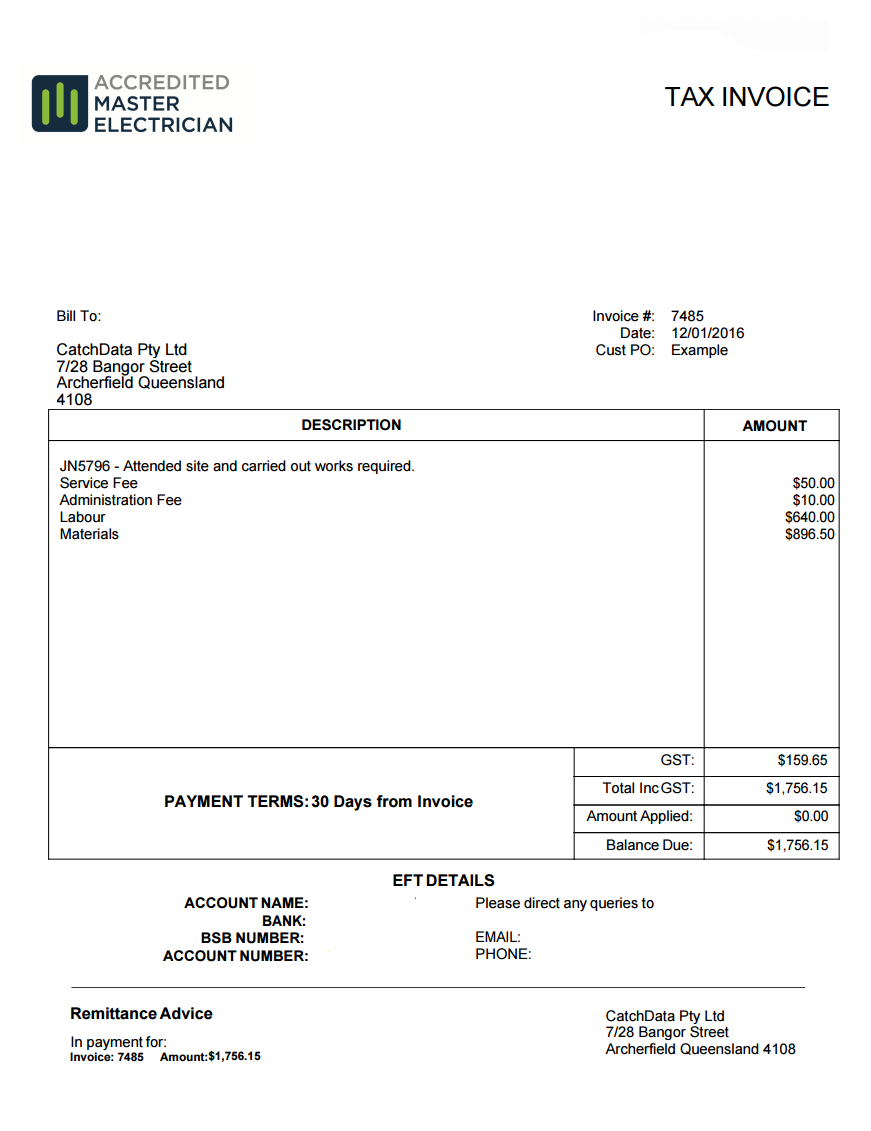
- After clicking save Show PDF Job Invoice and Email Invoice buttons will appear
- It is recommended to view the Invoice before sending it to the client click Show PDF Job Invoice
- This will open a new tab within your web browser to view, after confirming the Invoice close this tab
- From the Job Invoice page click Email Invoice
- If an email address has been added under the client card, the Email To with auto fill with this information – the email address can be changed if needed
- Enter in Email Content and click Send
- After clicking send, the Job Status will automatically update to Invoiced

- Invoice information will also need to be added into your accounting software program